Classification
Overview
Welcome to the Classification category, your go-to tool for tackling complex Classification tasks with ease. This versatile feature equips you with three powerful options: "Add Instructions," "Add Examples," and "Test with Training Model." With these comprehensive tools at your disposal, you have the freedom to take charge of your tasks, enables you to use already existing prompts or tailored your own to achieve accurate results. Whether you're categorizing data, labeling content, or organizing information, the Classification category empowers you to perform tasks independently, unleashing your creativity and efficiency for exceptional outcomes.
Let's dive in and explore the full potential of the Classification use-cases!
Classification
Read and classify written input with as few as zero examples. E.g., sorting of customer complaints, threat & vulnerability classification, sentiment analysis, and customer segmentation.
Click on the Classification category inside Sample Prompts.
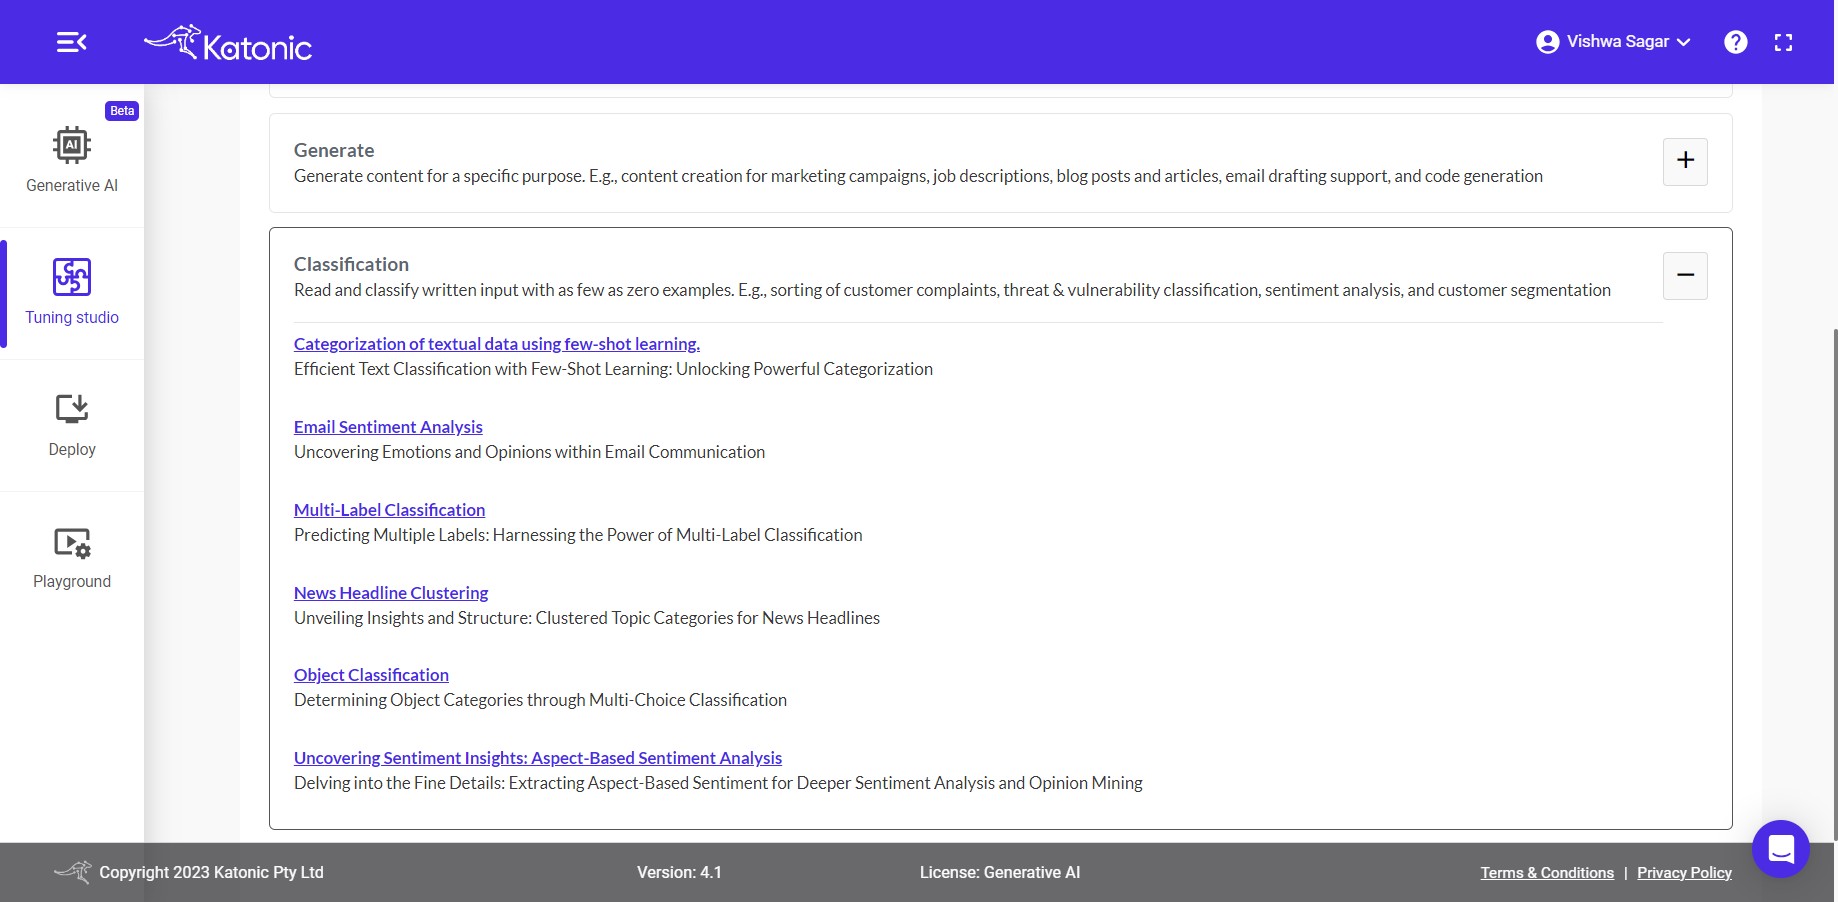
Use-cases Under Classification
4.1 Categorization of customer inquiries: Utilize few-shot learning to automatically direct customers to the appropriate service queue based on their responses.
4.2 Analyzing the sentiment associated with an individual: Unveiling Emotional Insights: Examining Sentiment Analysis of Individuals
4.3 Categorization of textual data using few-shot learning.: Efficient Text Classification with Few-Shot Learning: Unlocking Powerful Categorization.
4.4 Classifying articles for Efficient Content Management: Unraveling the Diversity: Classifying Articles for Improved Information Management
4.5 Organizing Customer Feedback: Categorization and Analysis: Streamlining Customer Feedback Analysis: Effective Categorization for Actionable Insights.
Let's understand how to use the provided classification prompts for specific use-cases to tailor your business problem.
Let's understand the first use-case.
Click on first use-case Categorization of customer inquiries.
Categorization of customer inquiries
Utilize few-shot learning to automatically direct customers to the appropriate service queue based on their responses.
Instructions, training examples, model and parameters
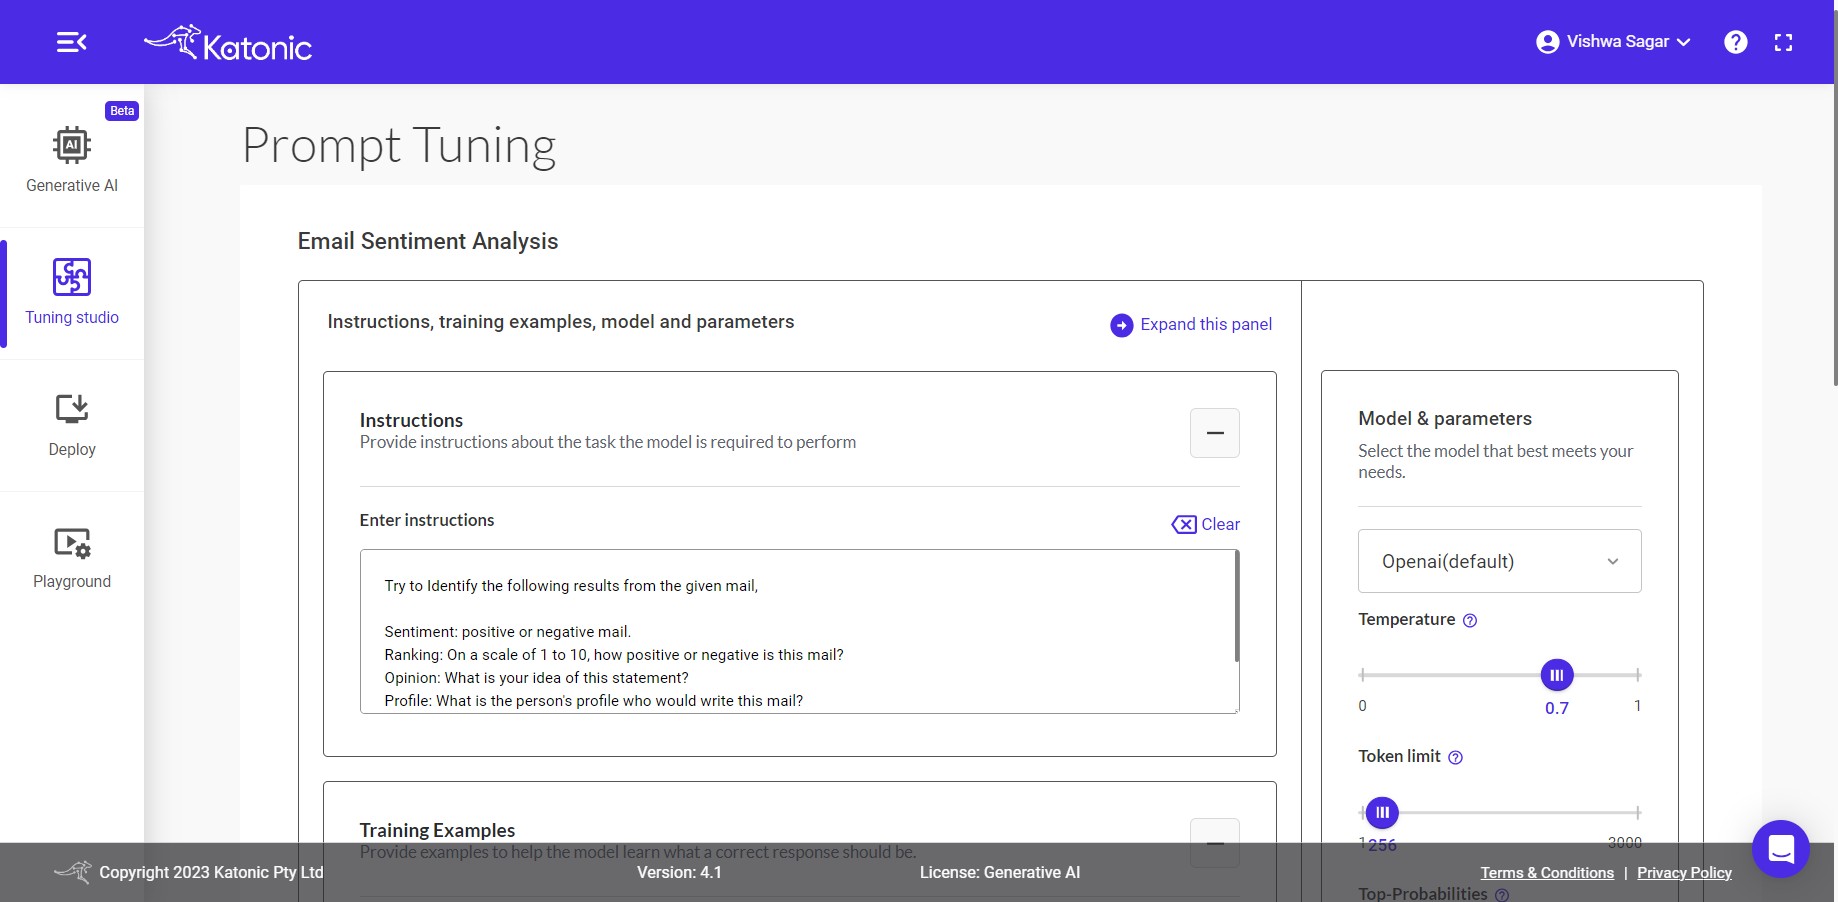
You can see there are 3 options Instructions, Training Examples and Test with Training model discuss further:
- Instructions: The input area serves as the space where you can provide instructions to the model regarding the specific task it should perform with the given data. This allows you to communicate your desired outcome or objective to the model, enabling it to understand and execute the task accordingly.
Example instruction based on the use-case is already provided. directly use the robust instruction or change as per your need.
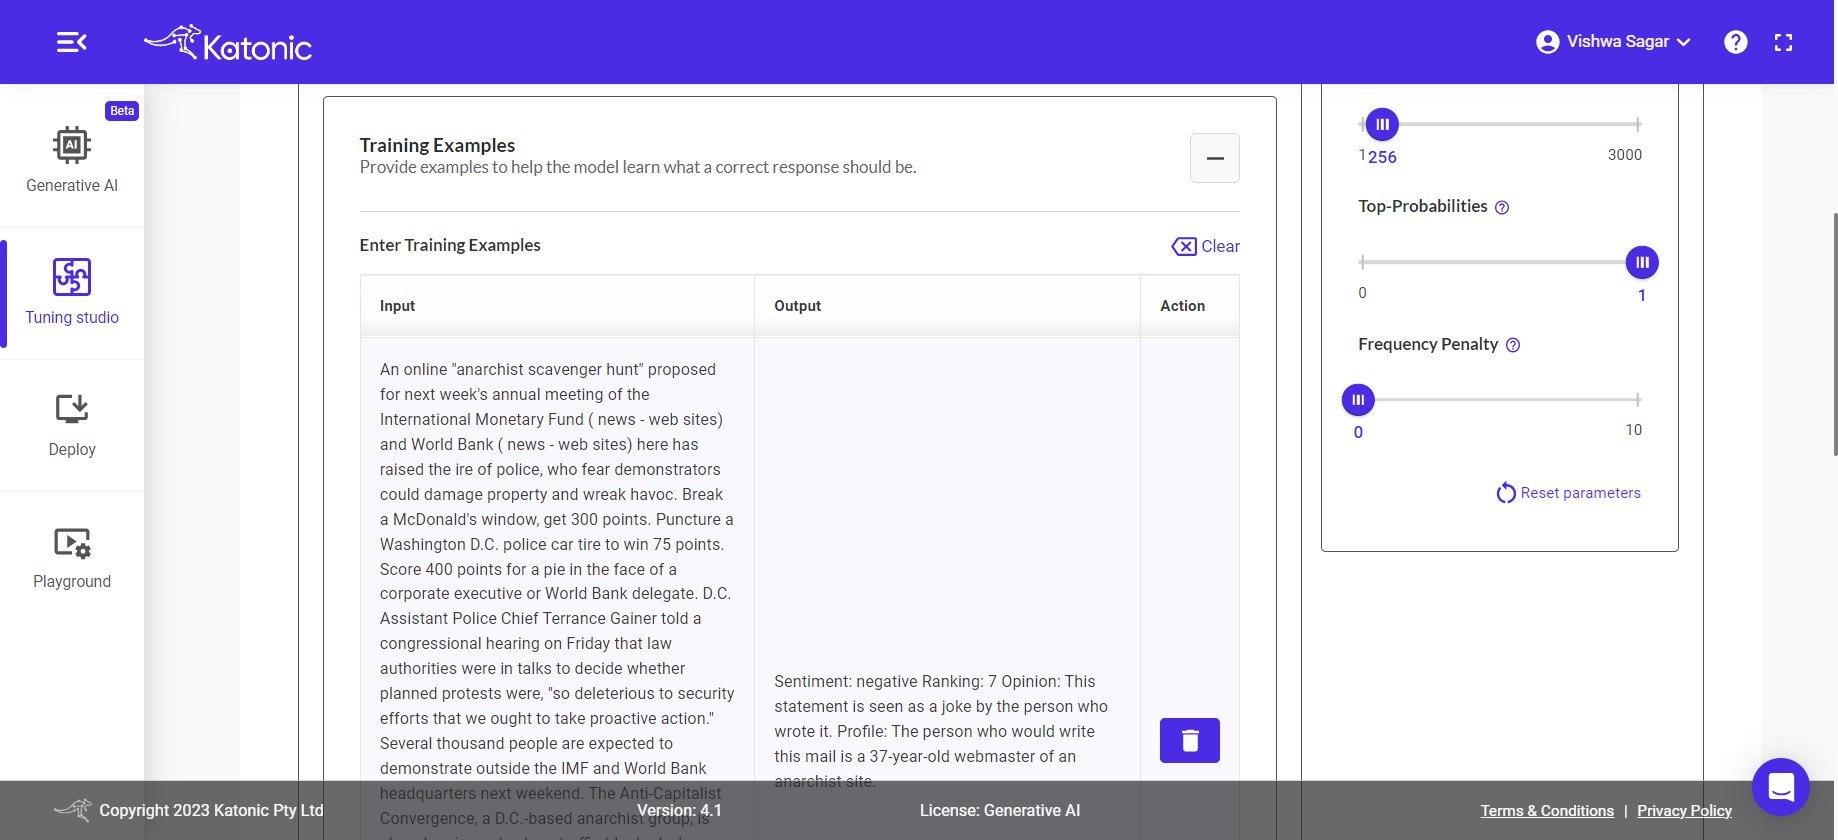
- Training Examples: To train your model with examples, you can utilize a technique known as Few-Shot Learning. In this process, you can provide input examples along with their respective expected outputs in the given input boxes.
Examples based on the use-case need are already provided. directly use those or change as per your need. it depends on your use-case whether to add examples or go ahead with Instructions/zero-shot-prompt.
To add more examples click on [ + ] button after every example. This enables you to enhance the model's understanding and improve its performance through exposure to a limited set of labeled training data.
If you wanted to clear the input & output click on clear action.
- Test with Training Model: Open AI: After you have provided either instructions or examples, you can proceed to test your model to assess its accuracy and performance. Testing allows you to evaluate how well the model understands and responds to different inputs or scenarios.
Input data particular to use-case is already provided or else Provide your input inside the input section and then click on the test button. it'll trigger the model and provide the output based on the instruction & output format you provided inside the output section.
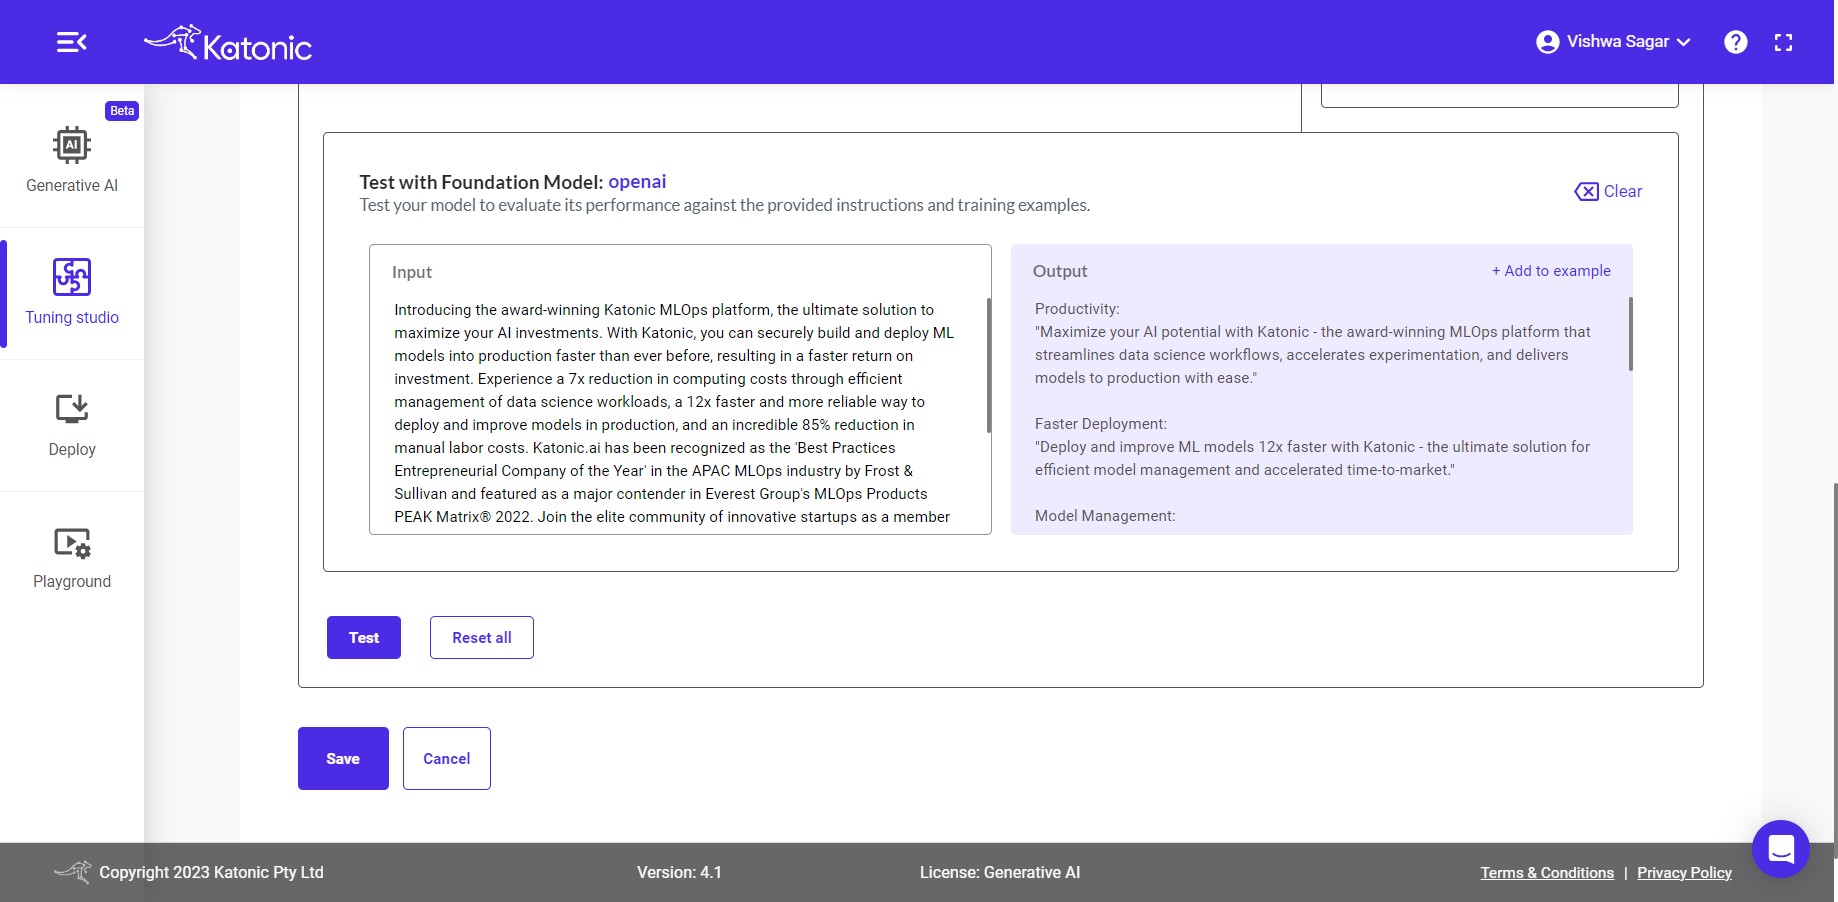
If you wanted to add the input and output as an examples inside the training example section. then click on the + add to example action button. you will see the added example in the training example section.
If you wanted to clear the input & output click on clear action. and checked again with new Input.
If you are not satisfied with the output generated by the model, you have the option to experiment and adjust various aspects of the model and its parameters. This includes modifying the input instructions or examples or tweaking the model parameters to achieve more desirable results. By iteratively experimenting and fine-tuning the model, you can enhance its performance and ensure it meets your specific requirements.
Training Model & Parameters
Training Model: For performing your classification activities, you have the choice to select the training model from dropdown menu. All options offer powerful capabilities for training the model based on your instructions and provided examples.
Note: Other Models can be added in Foundation Model Management. you can refer the "Foundation model management" documentation under the "Tuning Studio" section on how to manage and include the models in the model library.
Temperature: This parameter will range between 0 and 1. Higher values like 0.8 will make the model output more random, while lower values like 0.2 will make it more focused and deterministic.
Token limit: The maximum number of words to generate in the model output. The total length of input tokens and generated tokens is limited by the model's context length.
Top-P: An alternative to sampling with temperature, called nucleus sampling, where the model considers the results of the tokens with top_p probability mass. So 0.1 means only the tokens comprising the top 10% probability mass are considered.
Note: We generally recommend altering this or temperature but not both.
- Frequency Penalty: Number between 0 and 10. Positive values penalize new tokens based on their existing frequency in the text so far, decreasing the model's likelihood to repeat the same line verbatim.
Note:: If you are not obtaining the desired accuracy in the results, it is recommended to experiment with the parameters. However, by default, It's configured with parameters that are generally suitable for a wide range of problem statements. Therefore, it is advisable to start with the default parameters and assess their performance before making any adjustments.

Finally, if you're satisfied with the output and instruction results. click on save button to save your prompts.
One window will popup Save as new prompt. category: Classification.
Put your Prompt Name and Prompt description.Then click on save button.
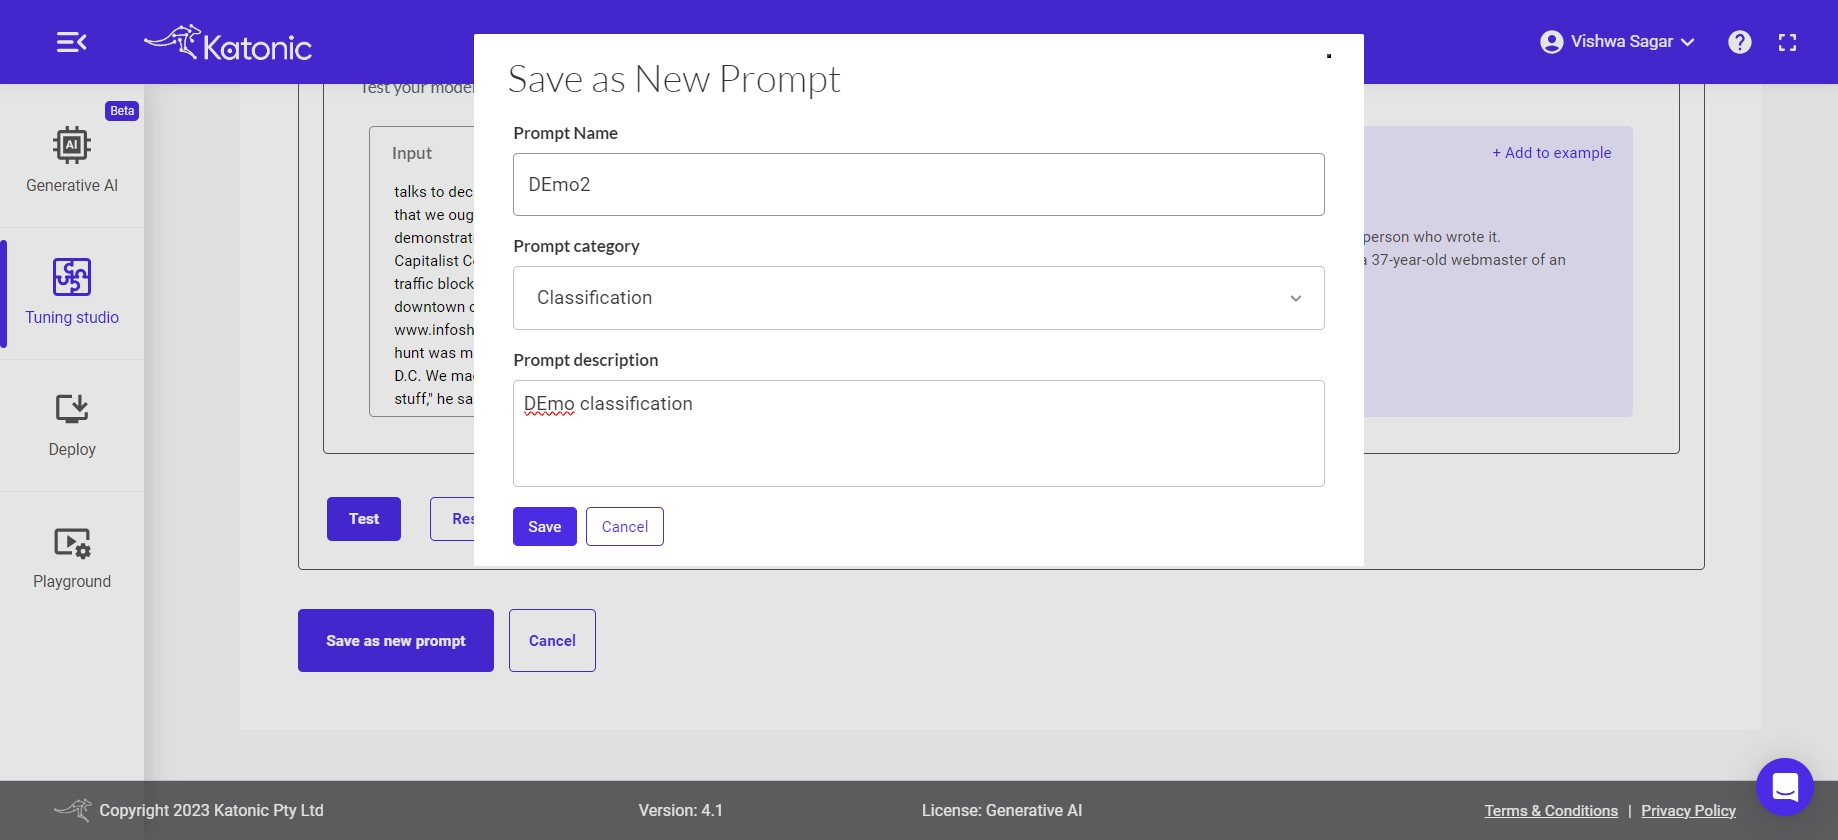
the prompt will get saved and appear on the my prompt section.
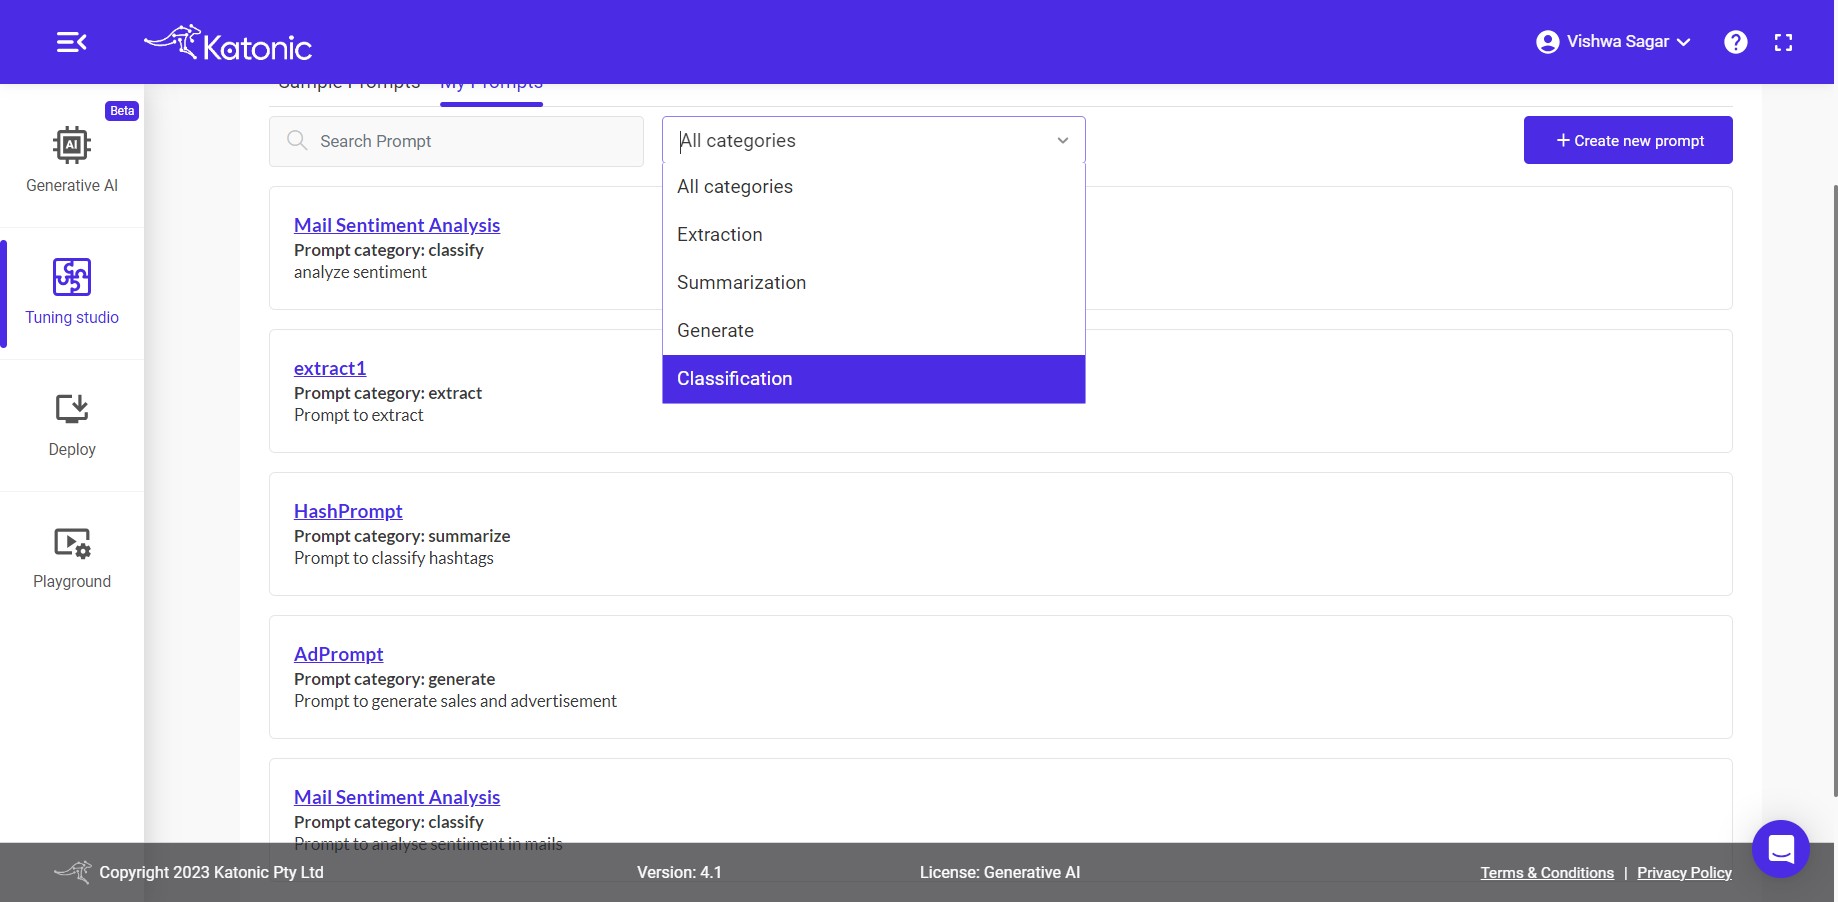
Same Process can be followed for other Use-cases as well.